So my nearside number plate light and nearside tailgate switch weren't working. I suspected this was probably electrical and seems quite common so decided to diagnose and fix. I had also noticed the number plate light had been an advisory on a couple of MOT's so again something that hadn't been fixed previously or was recurring.
Number Plate Light ... There was the obvious corrosion on the contacts and a circuit test revealed no power.
Tailgate Switch ... This simply didn't activate the central locking but as the offside switched work I wasn't too bothered.
This is what I did in case it is of any use, it includes a repair I made to the tailgate switch as I assume they are quite expensive ?
1. I removed the interior tailgate trim and checked the connectors, the tailgate connectors had corroded but the number plate light connectors seemed OK and had power.
2. I removed the external trim by removing the 4 connectors for the 2 x number plate lights and 2 x tailgate switches, then undoing the 4 10mm retaining bolts, 2 of which are part of the tailgate lock mechanism.
3. I removed the offside number plate light housing and cleaned up the contact points on the number plate lens and also the housing. Plugging the connector back in as a test restored power and illumination so that was quite simple.
4. I could see that one of the pins on the tailgate switch had corroded so initially it looked like curtains however. For anyone handy with a soldering iron and basic eletrical skills there is a solution as follows ...
4.1. Carefully pick away at the dark resin beneath the connector which will reveal two connecting pins going from the body of the switch up into the connection block.
4.2. Carefully drill 2 x 2mm holes through the connection block base into the void created by removing the resin. Drill below the original pins.
4.3. Feed and solder 2 wires into the drilled holes to the exposed connectors.
4.4. Use epoxy or sealant to seal the void and also the connection block, this will prevent water ingress.
4.5. If required, solder a suitable connector to the end of the two new wires and also to the car wiring looms - or splice them together on re-assembly.
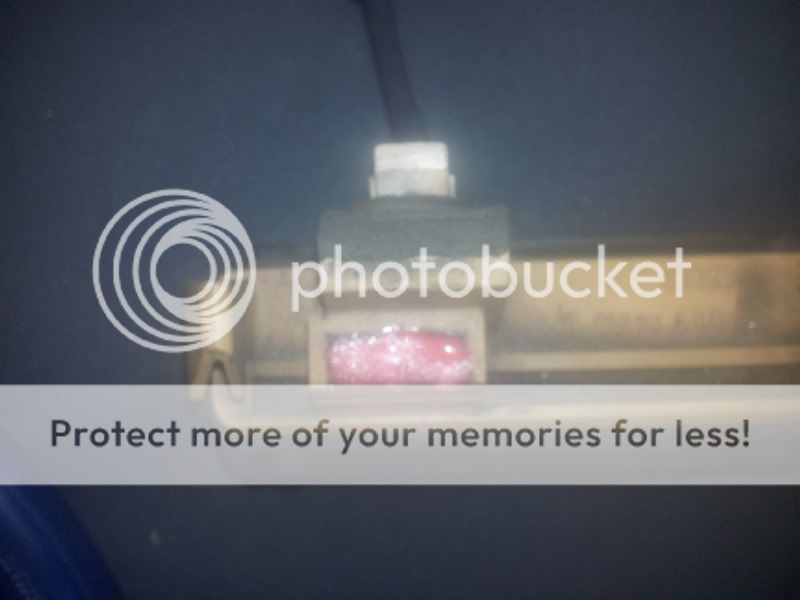
Epoxy in the void post repair ...

Epoxy in the connection block post repair and connector added ...

New heat wrapped connector on the wiring harness ...

5. I investigated the rear wash machnism and cleaned the jet which restored the operation of the rear wash but water still came into the tailgate so maybe there is a sealing issue somewhere.
6. Reassemble everything. I used some heat wrap on all connectors and applied waxoyl to various parts/connectors to reduce future corrosion from what I assumed was water from the rear wash/wipe.
... and apologies for the poor pictures but I didn't intend to document the work but decided to in the end.
Martin
Number Plate Light ... There was the obvious corrosion on the contacts and a circuit test revealed no power.
Tailgate Switch ... This simply didn't activate the central locking but as the offside switched work I wasn't too bothered.
This is what I did in case it is of any use, it includes a repair I made to the tailgate switch as I assume they are quite expensive ?
1. I removed the interior tailgate trim and checked the connectors, the tailgate connectors had corroded but the number plate light connectors seemed OK and had power.
2. I removed the external trim by removing the 4 connectors for the 2 x number plate lights and 2 x tailgate switches, then undoing the 4 10mm retaining bolts, 2 of which are part of the tailgate lock mechanism.
3. I removed the offside number plate light housing and cleaned up the contact points on the number plate lens and also the housing. Plugging the connector back in as a test restored power and illumination
4. I could see that one of the pins on the tailgate switch had corroded so initially it looked like curtains however. For anyone handy with a soldering iron and basic eletrical skills there is a solution as follows ...
4.1. Carefully pick away at the dark resin beneath the connector which will reveal two connecting pins going from the body of the switch up into the connection block.
4.2. Carefully drill 2 x 2mm holes through the connection block base into the void created by removing the resin. Drill below the original pins.
4.3. Feed and solder 2 wires into the drilled holes to the exposed connectors.
4.4. Use epoxy or sealant to seal the void and also the connection block, this will prevent water ingress.
4.5. If required, solder a suitable connector to the end of the two new wires and also to the car wiring looms - or splice them together on re-assembly.
Epoxy in the void post repair ...

Epoxy in the connection block post repair and connector added ...

New heat wrapped connector on the wiring harness ...

5. I investigated the rear wash machnism and cleaned the jet which restored the operation of the rear wash but water still came into the tailgate so maybe there is a sealing issue somewhere.
6. Reassemble everything. I used some heat wrap on all connectors and applied waxoyl to various parts/connectors to reduce future corrosion from what I assumed was water from the rear wash/wipe.
... and apologies for the poor pictures but I didn't intend to document the work but decided to in the end.
Martin


