superkarls overhaul

Cheers buddy. Standard topmounts but not OEM, they have bilstein on the box.
I've been meaning to post a list of parts, prices and where I got it all. Il do it tomoro. Do t know off the top of my head.
 
great work matey u will be pleased when done

im wanting to fit a few bushes on my car what are the best ons to change karl
 
Erm, all of them mate. These cars are getting on a bit so even if they have low mileage they're going to deteriorate with age. Its for me, about the most important thing to do, that along with suspension, when the cars are gettin on a bit. Restores some new car feel. Do it! Haha. Obv il tell you more when I drive it, but no doubt its goin to feel awesome
 
Erm, all of them mate. These cars are getting on a bit so even if they have low mileage they're going to deteriorate with age. Its for me, about the most important thing to do, that along with suspension, when the cars are gettin on a bit. Restores some new car feel. Do it! Haha. Obv il tell you more when I drive it, but no doubt its goin to feel awesome

ok mate thanks are u going to post where u got them from and how much mate

had a look at mine today and need 1 inner cv boot, 2 outer cv boots and 2 bushies dont no what there called the ones that lay flat at the front on the wishbone and ill do the power flex one's at the front of the wishbone too.
dont no about brop links and top mount are they needed i no iv got some sqeaking at the back end like
if the above parts haven't been replaced in its lifetime, its almost definate they are worn and the car would benefit from new ones, upgrading to powerflex and other poly bushes makes even more difference. i will update soon with prices and places. just a tad busy.
 
  • Like
Reactions: Eddie's/s3
quick update, had a spare hour or so to put the ball joints on the wishbones and encountered this issue.
well firstly bolts didnt quite line up with the holes on the wishbone, and required a pursuader(hammer) to get them on, threads on the bolts were ok after this thankgod. then i realised i they didnt quite seat flush to the wishbones, as shown
175401_10150395472365707_515390706_17228412_5925396_o.jpg

seems the underside of the balljoint was too big to sit in the wishbone and had to file away the inside of here a little....
172830_10150395469935707_515390706_17228404_5505078_o.jpg

just kept filling away until they sat nicely. obv this would have been an issue come alignment time as they wern't able to move around as they should do.

i must note thought that the ball joints aren't audi ones, they were bought from ECP, so this may be why. original audi ones might fit like a glove. anyway its not a big issue, just one that people should look out for when replacing them, it limits the balljoints adjustability otherwise.
 
i may even go over them again and make sure there is plenty of room, want the balljoint plate, and the underside nuts to be hard down and flush with the wishbones!
 
evening gents.
i have a question to ask you wise lot, does anybody know the torque settings for the inner driveshaft bolts???

i fitted one side today but only did them finger tight for now.
also removed the brake caliper for an overhaul.
everythin looks cool now, shiny new.
 
for some of the guys who asked:

powerflex steering rack bush - rude racing (ebay) - £11.58
powerflex front wishbone front bush - yates & bloomfield (ebay) - £41.04
wishbone rear bush - murrays direct (ebay) - £26.90
powerflex dogbone mount bush - awesome - £18.79
lower ball joints - JPR motorparts (ebay) - £23.90
strut top mounts - AVS car parts - £23.72
thermostat U050 121 113 C - audi - £19.66
inner cv boot U3B0 498 203 E - AUDI - £27.12
outer cv boot U1J0 498 201 E AUDI - £20.95
tpi wheel spacer kit - theTTshop - £195.82
 
Just been re-reading this thread Karl as I've started ordering up my suspension parts. Firstly I'm glad I read this again before ordering non Audi ball joints, and secondly, is it easy enough to replace the ball joints without removing the wishbone? Bare in mind that I will be replacing my shocks and springs so they will be out the way too.
 
Hi mate. Yeh Audi ball joints is a good move, although I'm sure mine will be ok on quality.
Ball joints are a piece of cake to remove, obv I removed wishbones first but I'm sure that undoing the top nut on the hub you'l be able to knock the wishbone down and the hub will come off the bolt, then simply undo the 3 nuts underneath and its yours. Really quite simple this stuff.

Although this weekend I hit a brick wall, I was going to update tomoro but basically I had a go at removing and fitting a steeringrack Bush for a powerflex one without removing the subframe, hmmmm, so far proves impossible to gat the clamps off the Bush. More pics etc tomoro
 
ok not updated in a while because my mrs had banned me while she was back from base for two weeks leave :( still managed to fit a few hours here and there of tinkering though :) great succes.

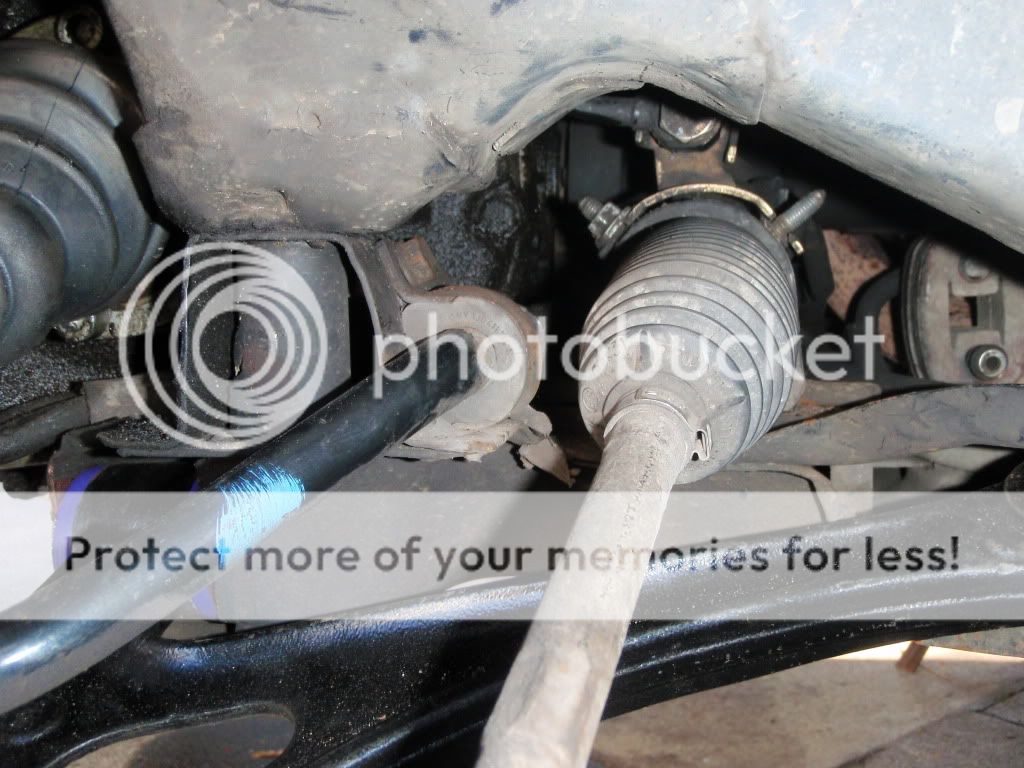
so, driveshafts in, wishbones in, dogbone on, few other little bits and pieces ordered.
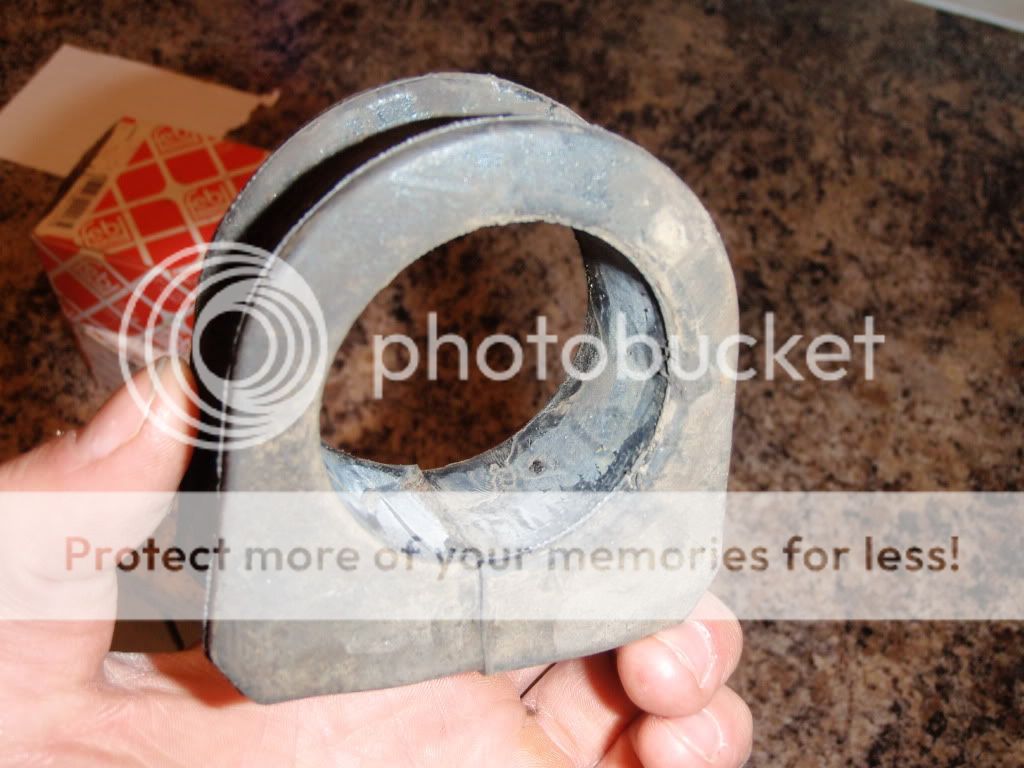
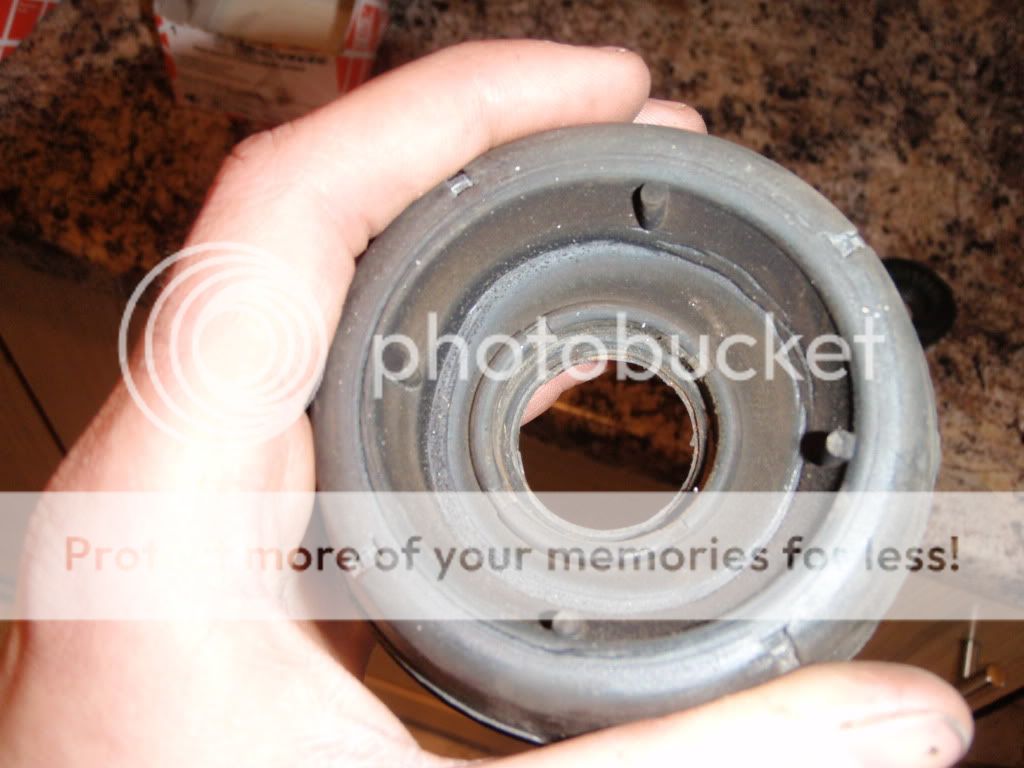
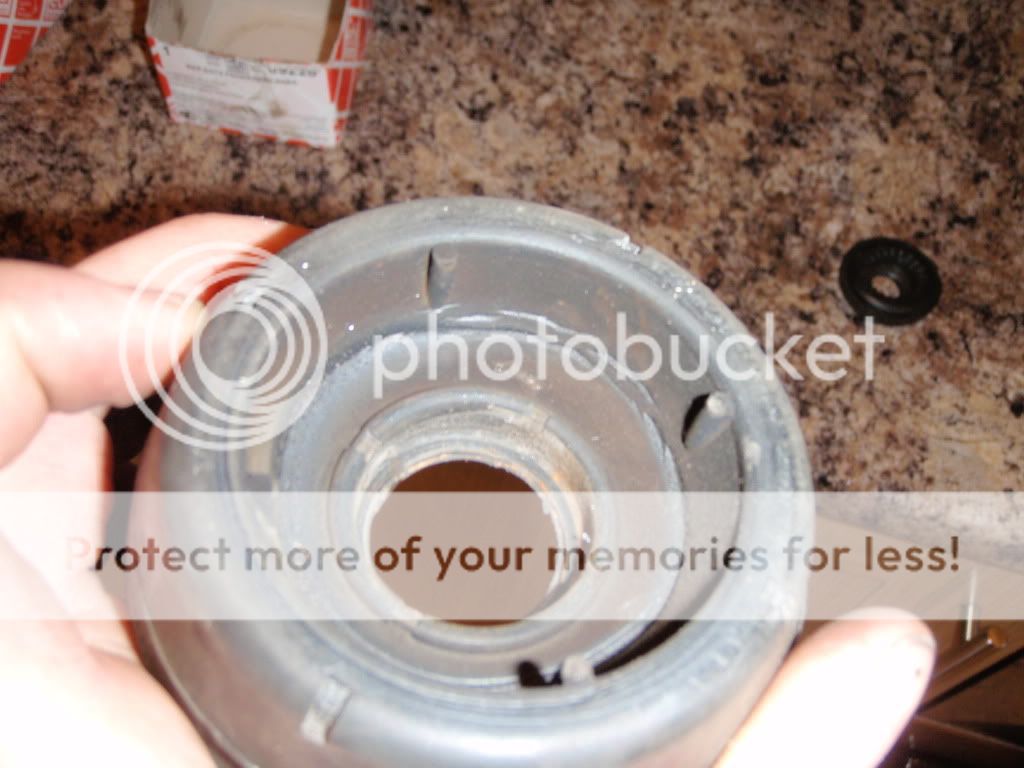
id ordered a powerflex steering rack bush, only cost 12 quid so i thought why not. turns out its the biggest pain in the backside ever!
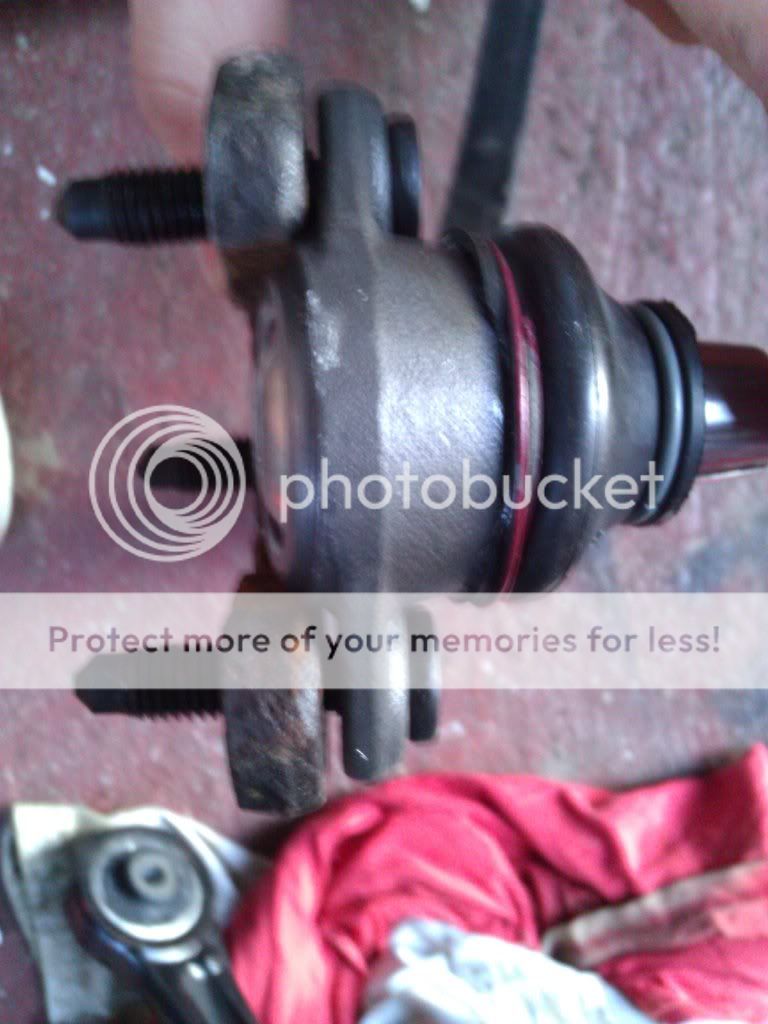
so heres the standard one in, got the two bolts off the top of it off with ease, and the two underneath holding the clamp to the subframe, hoping that the clamp would lift free and bush can slide out. WRONG!
P3060002.jpg

it has been an absolute pain. tried leverage and everything but the clamp and bush dont budge. i attempted to take the subframe right down, had it about 2 inches lower and still just couldnt take it off. didnt take it completely off though which is the next task.

if anyone has experience of this pleeease help. i might even sack it off, for the sake of a 12 quid piece of poly it aint worth the hassle.

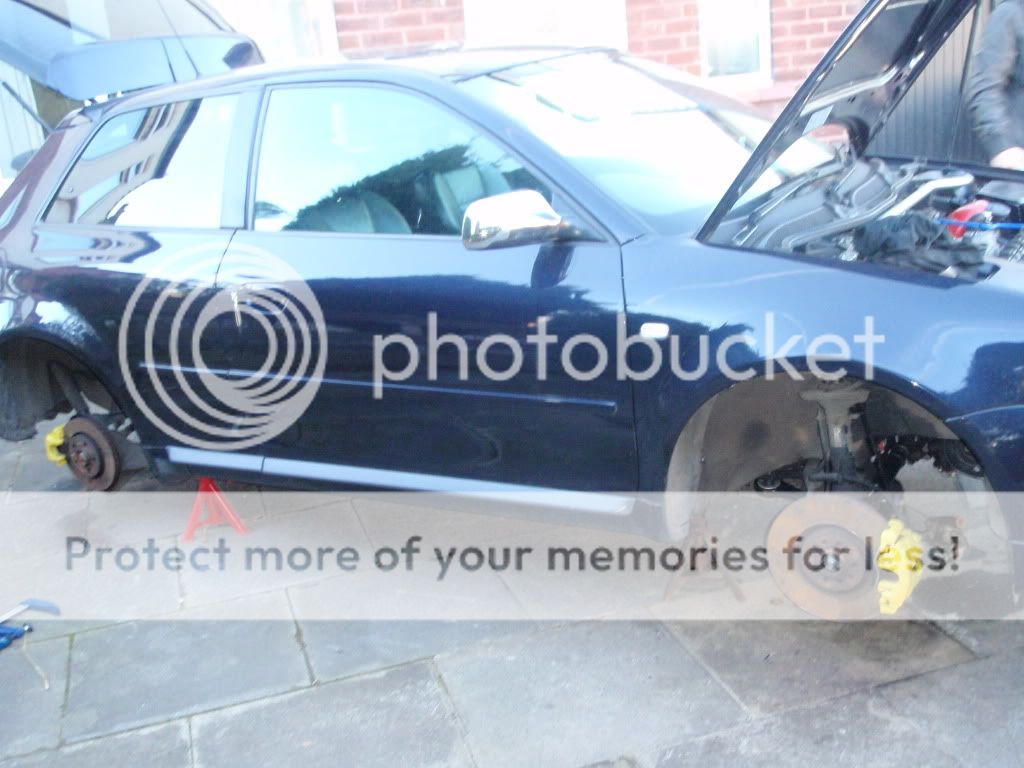
so forced to do ****** all on the car by her indoors, id occasionally sneak out to take the calipers off to give them a fresh lick of paint, yellow, good contrast to the blue and should look nice behind gunmetal alloys.
P3220007.jpg


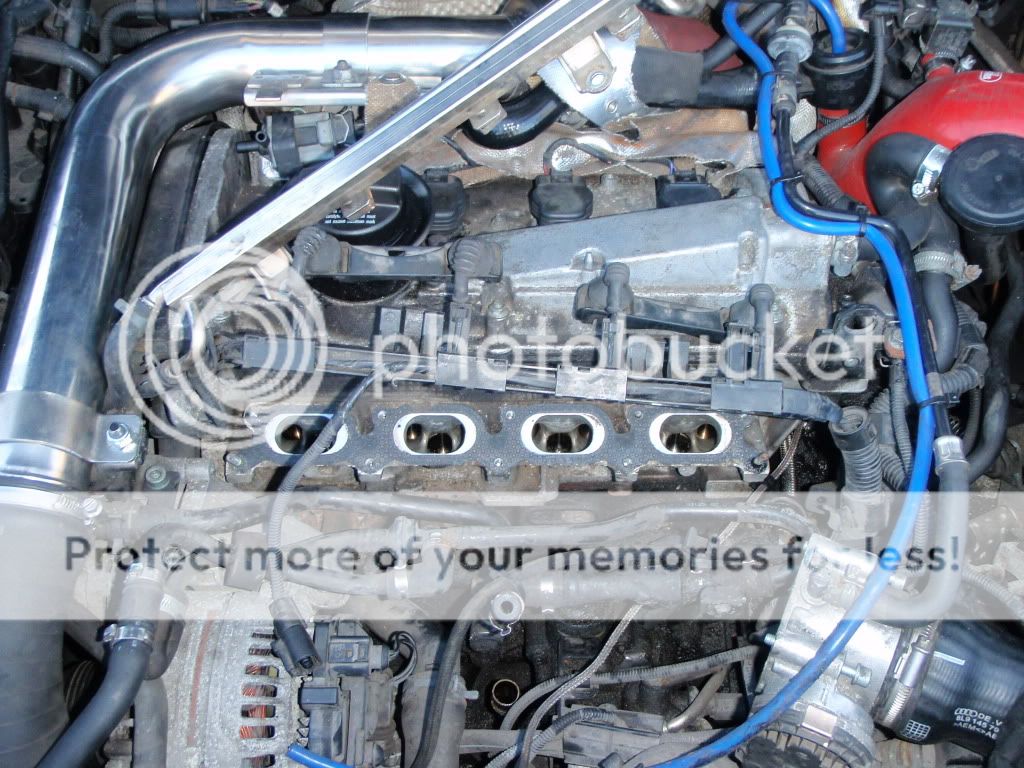
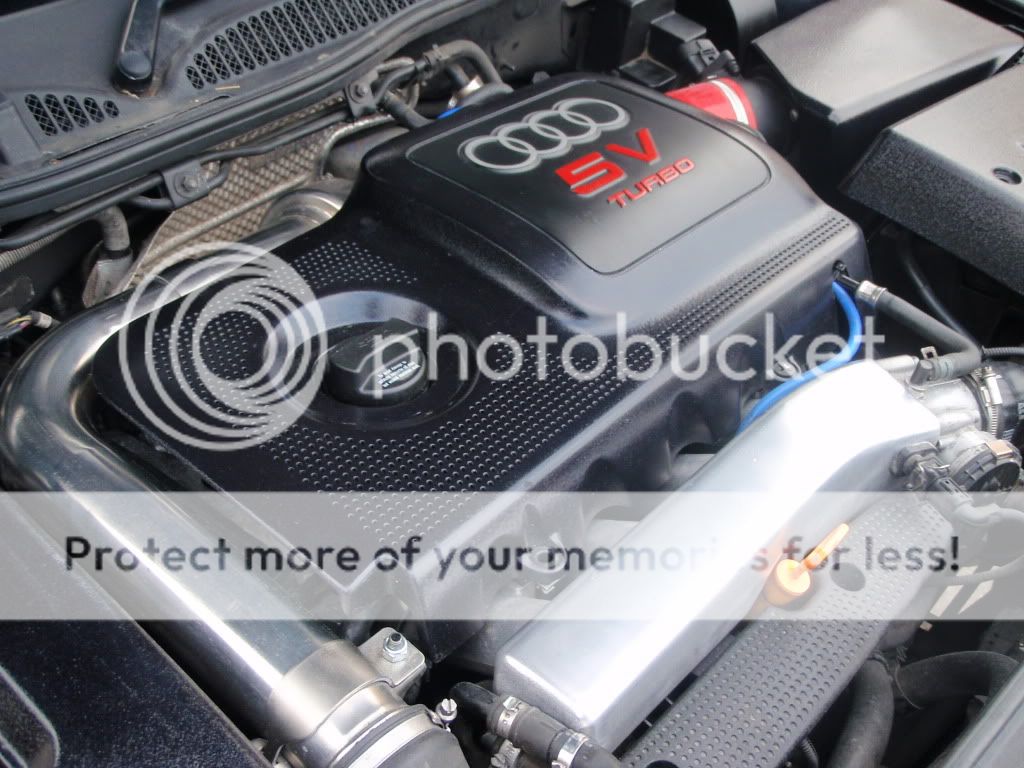
next up was the thermostat, wasnt quite getting up to 90 degrees, only in standing traffic so for 20 quid was worth doing. had the inlet mani off to give a good clean and an attempt at a polish, but also wanted to check all breather and vac pipes for future catch can fitment, alot easier to figure out when its infront of you.
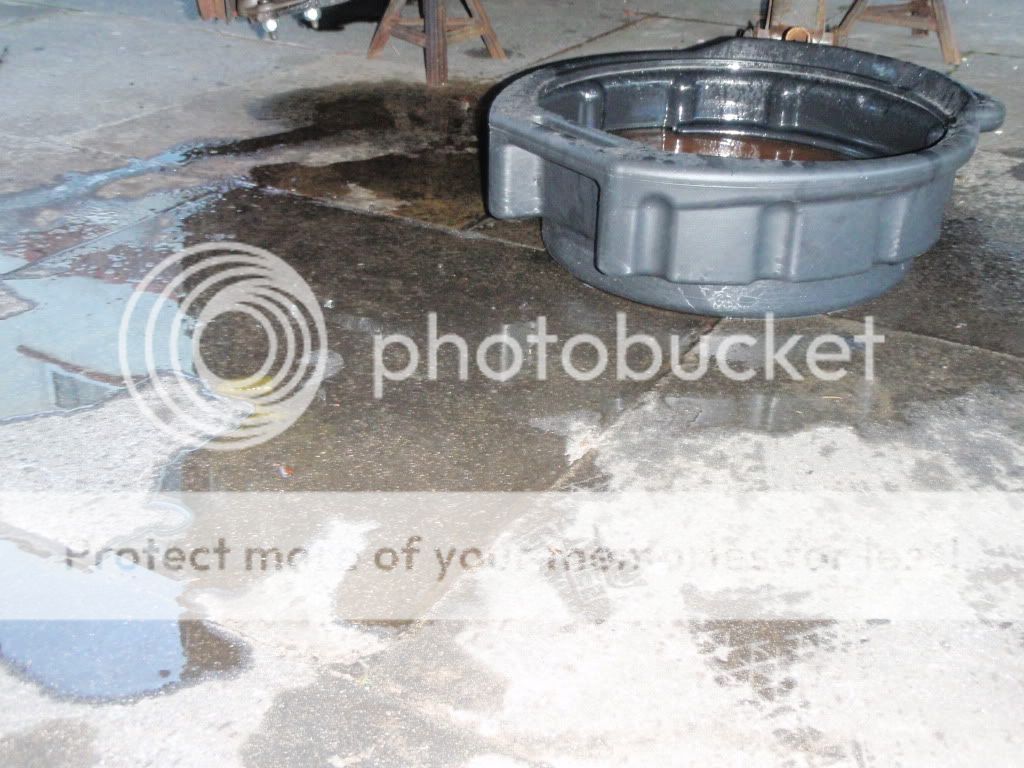
big ol dirty mess to be fair
P3060004.jpg


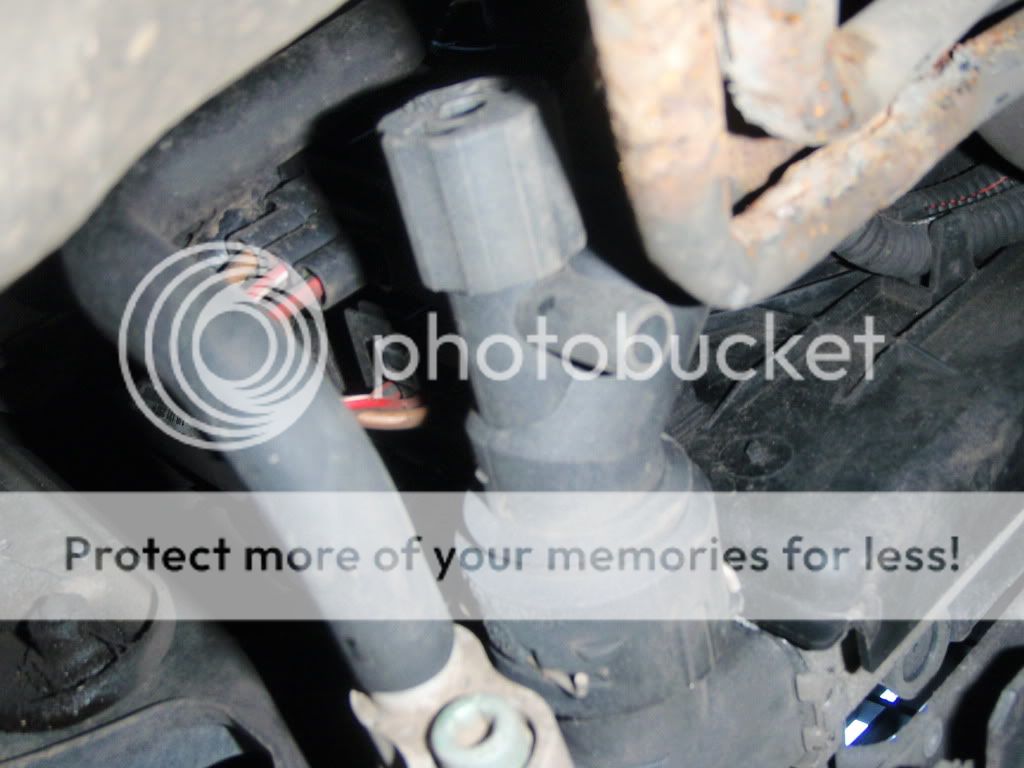
so coolant dropped, here is the tap on the passenger side of the rad for anyone not in the know, twist and pull
P3220008.jpg

and the thermostat itself for anyone unsure
P3220010.jpg

left a hell of a mess when the thermostat was pulled out after thinking it'd all drained lol
P3220009.jpg


all fitted back after a hell of a fiddle, and working into darkness Westle and S3baby style (respect). fitted the ultrasonic cleaned injectors also.
3 litres of g12 and the rest topped up with water every now and again.
started up and, ppurrrrrrrrrrrr. actually gave the car a big hug :) with the injectors clean it idles steadier, sounds smoother.

im still waiting for wheels to be painted by a friend, told him theres no rush, well now, there is!
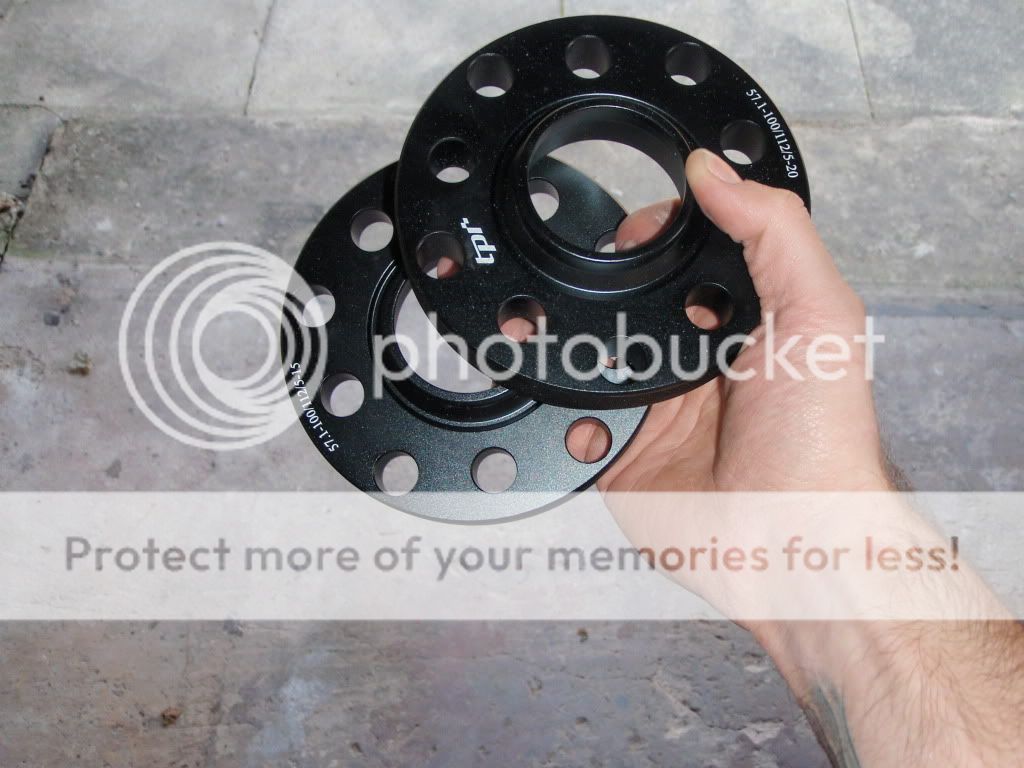
in the meantime i mocked the wheels up to the car with the spacers on just to give an idea of how they should look.
15 and 20mm...
P3280011.jpg

wheels are an et45 8 inch wide, but with spacers giving an et30.....
P3280012.jpg

and the rear with et25....
P3280013.jpg


im made up, fronts are just perfect i think, so cannot wait to have them on!
tires should come tomoro, but cant be fitted until wheels are painted AAAARRRGGGHHH!

so all thats left for me until its back on the road is wheels, bleed brakes, transmission oils and haldex oil and filter, and then straight to awesome for alignment. oh and that dam steering rack bush!

cheers for reading.
 
Looks like my powerflex steering bush will be gettin f@@ked off as well then...... wait and see I've got a really busy week planned this week get everything done and hopefully back to work next week.... Her indoors is doin my f@@kin napper right in:keule:
 
Nice work Karl.
Big respect for doing the cv boots on your drive, it was time consuming enough on bills ramps.
 
superkarl are you fitting those spacers on standard height suspension? would be very intrested in a pic if you are, my s3 is at standard height and am thinking of the same spacers, would be great to see how they look!
 
I certainly am KB, pics as soon as they're fitted, because of the age of the springs and shocks I don't expect it to sit too high tbh. New suspension to follow this year anyway.
 
look forward to seeing the pics! did have b8s and h&r springs which i loved but swapped them with a chap on here for his standard suspension, lot happier with the standard height now that i see it, would just love to get a better stance
 
Good work again Karl. My god the thermostat is a he'll of a lot easier to change the way you did it. That was one of the most annoying jobs I'd ever done!

I can't wait to see your wheels mate as I've been toting with the idea of anthracite wheels on a ming blue but wasn't sure.
 
Westle it was still an absolute bitch, that bottom bolt on the housing ahhhhhhh!

The wheels aren't your average antheracite, I didn't want to go too dark as I don't think they'd suit a dark car. The colour is moonland pearl, give it a Google and let me know what you think.
 
Last edited:
Westle it was still an absolute bitch, that bottom bolt on the housing ahhhhhhh!

The wheels aren't your average antheracite, I didn't want to go too dark as I don't think they'd suit a dark car. The colour is moonland pearl, give it a Google and let me know what you think.

Ooo I like that Karl nice choice. I'm still torn about getting some 18" wheels at the moment instead of returning mine. I can't wait to see what yours look like.
 
tires came today.
falken fk452. prob the best value performance tire going.
£289 delivered from camskill
190529_10150437791865707_515390706_17712310_3114884_n.jpg


and here is the ******* bush that im trying to fit.
£12 ebay
steeringbush.jpg


and finally my engine bay all back together looking tidy. well, hiding the grimey mess beneath.
its minus the strut brace though, i've got to polish it again as i lacquered it last time, bad idea, gets so hot the lacquer goes cloudy.
P3290014.jpg
 
I left my strut brace unlaquered, its rusting quite bad in tiny dots, and i polish the whole bay every 3days :wtf:
 
awesome thread mate, i really really need my outer cv joints doing and have been quoted £120 per side!! just wanted to have a go at it myself first but i just cant seem to figure out from the pics how your remove the drive shaft from the hub and then remove the cv joint, is it pretty much straight forward once you have them out and are looking at them?? sorry if that sounds dumb, ive done pretty much every job but! lol

great progress though, really interesting to read
 
Nice thread Karl, nice guides/pics too.

I run FK452's, ok tire for the money.
 
Nice thread Karl, nice guides/pics too.

I run FK452's, ok tire for the money.
 
awesome thread mate, i really really need my outer cv joints doing and have been quoted £120 per side!! just wanted to have a go at it myself first but i just cant seem to figure out from the pics how your remove the drive shaft from the hub and then remove the cv joint, is it pretty much straight forward once you have them out and are looking at them?? sorry if that sounds dumb, ive done pretty much every job but! lol

great progress though, really interesting to read
fairly easy job, just time consuming. first you'l need to undo inner driveshaft bolts (pictured in the thread), then undo the bottom ball joints, the single bolt on the top of the joint! dont want to mess up alignment undoing the 3 underneath. thenyour hub will be detatched from the wishbone and free swing around as far as the shocks allow, just pull away and the driveshaft will come out on the inside, then to get the shaft out of the hub you may need to hit it out, i had to hit mine fairly hard, but do not damage the end, the hub nut wont go back on. use something to hit it that wont damage this. then, you have your driveshaft in hand.
next is to undo the circlips on the boots to access the joint, and dissasemble as required, remembering how it all goes back!
hope its descript enough. im sure you'l work your way around it.
 
bit of an update.
got back from seeing the girlfriend down in high wycombe on sunday, and saw my dad who said, oh i did your topmounts, blead your brakes and fitted that soddin steering rack bush for you. WIN! what a legend.
so i was made up. then fitted the battery after it had gone totally flat, luckily it charged on a trickle charger. started it up, again it sounds smooth and all is well, let her warm up a little, make sure it got to temp ok after fitting the thermostat and gave it a little rev. then i noticed a small puddle underneath. DOHHH, its leaking a little water.
found out tonight its coming from the thermostat housing, now either i didnt do it tight enough or it wasnt quite sealed properly,

anyone had any problems or solutions for fitting it nice and tight and true????

im going to fix that this weekend anyway, not looking forward to it as its so fiddly. im not going to tighten it though incase the seal isnt sat properly, so il drop the coolant, again, and refit. booooooooo

anyway heres some pics of parts taken off to give an idea of wear after the milegage its done....
steering rack bush. to me it looks good, not weathered or worn too much, and, the powerflex one isnt that much stiffer oddly...
P4040016.jpg


and here is the topmounts. again not too bad, i was expecting a mushed up mess, i knew there was play in one. the bearing is as expected, a little rough and lacking grease, and as can be seen in the pics the inside corner is a little disfigured and most certainly not circular which it should be.
P4040018.jpg

P4040017.jpg

i have no idea if after 133k they should look like this or worse, but there is improvement to be made.

so, nearly complete. ****** wheel man is working away though so the wheels are taking longer. then all transmission oils changed and done, back on't road.
 

Similar threads

Replies
24
Views
5K
Replies
10
Views
1K
Replies
7
Views
944
Replies
2
Views
710