Prawn and BigAls A3 Track Car

Righty then, rain has stopped play, which is upsetting, but oh well, I've got tomorrow off to get it finished.

I started the day by stripping the front panel down to remove the aircon rad. I wasn't in camera mode at this point, and totally forgot to take pics!

Removed the aircon rad, and decided now was a good time to fit the new radiator I've had in the garage for 2 years, so I started to strip the coolant rad out of the panel

8921947B-E2C5-411D-BF82-46037D025452-7667-00000637743A1000.jpg


2F644032-20FD-4CAD-A2B3-98DA99E9C065-7667-0000063786163B27.jpg


The top bolts came out easily, but the lower ones were both rusted up really badly and wouldn't budge, so I chopped them off

15A1936B-562B-42D9-B246-2743231343A8-7667-000006378D77B937.jpg


New rad bolted in:

8404EAC3-213C-4D37-B253-EBB2B8619AB6-7667-00000637967D5979.jpg


D2036D35-B960-42F1-A561-3DE6231958DD-7667-000006379D1080E8.jpg


And bolted back into the front panel:

F3BF6020-FE0E-40D8-90E7-AF3D93C797CC-7667-00000637A3F39593.jpg


Then I moved back to the engine.

I'd been given a large port phenolic gasket spacer to try out from the guys at BAM racing: Bam Racing | Facebook

2ACF159B-09BD-4F9A-93BE-16C01AF65175-7667-00000637AC589B7F.jpg


It looks well made, and fits well, so very happy with it :) (Thanks guys)

Will do a few logs when it's back together to see if IAT's have changed much, but I think the main gain will be recovery time after standing.

Head ready for the inlet:

7AE9DCD7-8560-42D4-802E-B32EA6D4ABF1-7667-00000637B3156CF5.jpg


Phenolic spacer installed:

13395BF4-AE42-4E77-B4DC-BCD37794A503-7667-00000637B9516A3E.jpg


And the inlet installed
947578FD-BB37-419D-827A-B3820291C0EA-7667-00000637C1AAEC27.jpg


Looking down the injector bosses, it appears I could do with some port matching at some point in the future, with the gasket and phenolic spacer being slightly larger than the ports on the head. It's a similar situation on the runners of the manifold.

F6F8FD83-EFC2-4317-8A23-6B97BEF7A43A-7667-00000637C87B5D76.jpg


Fuel rail and injectors installed:

F7E2B002-3248-4EEC-AD71-C68D10C970F0-7667-00000637CFC96EAC.jpg


Time to fill with fluids. Was pretty miserable and windy so I put some paper down to stop it from spilling on my clean shiney engine

967ED48C-C9E1-4BF7-BB7C-99900AB1D900-7667-00000637DA22A6D1.jpg


Then onto the driveshafts, one new OEM driveshaft to replace the dead one I took off yesterday:

0F35B791-DA22-4E23-98F7-B2AAD639F158-7667-00000637E4B82222.jpg


12.9 grade cap head bolts, and Nordlock washers for the shafts, plus some thread lock. I DO NOT want these coming undone, ever again!

63F2394B-626C-4E0B-9791-B64EB7255674-7667-00000637DF154280.jpg


Done:

87C98FA8-4361-43B9-AC25-1BA31BAE4A3A-7667-00000637E94CF5C1.jpg


Then I fitted the downpipe, not the easist to get to the nuts for it:

8344C318-57EA-4217-BD99-D40ABAA772C2-7667-00000637EF8F8149.jpg


73FDB56B-5B3C-4479-9C41-E407E2FECB13-7667-00000637FB14E1A8.jpg


Then sadly, rain stopped play for the evening, I got the Turbo inlet and a few other bits on whilst getting rained on, then decided to call it a night

Still on course to fire it up tomorrow :)
 
Good update prawn. Making really good progress. I'll be waiting for the fire up video tomorrow!! :thumbup:
 
so, today!

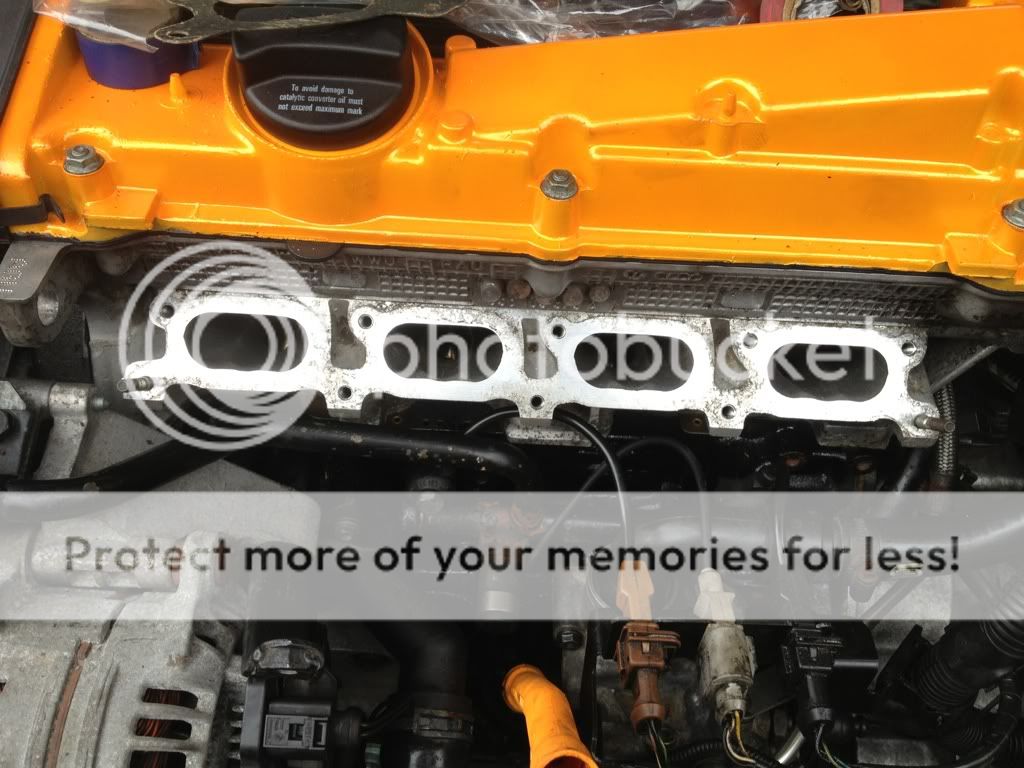
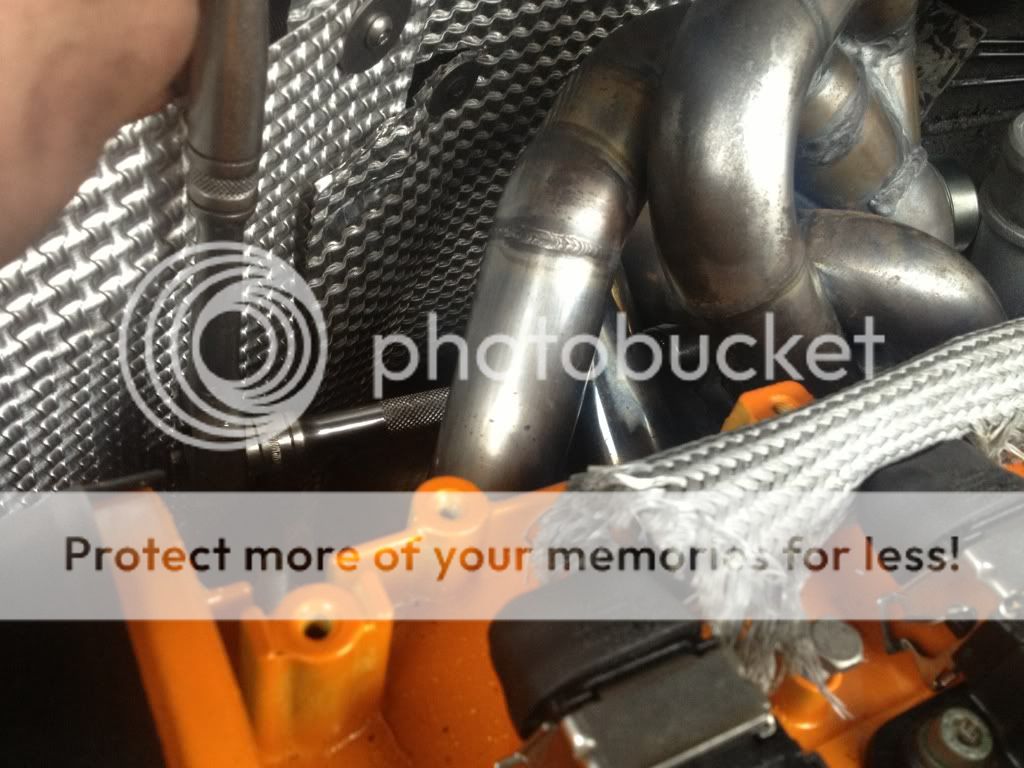
I started today by fitting a few boost hoses before the front end went on, which remidned me I'd forgotten to tap a thread into the rocker cover to hold my heat shield:

7BFA3146-9D0D-4E56-A64E-E2A52A4BC285-2268-000001A3B89BD369.jpg


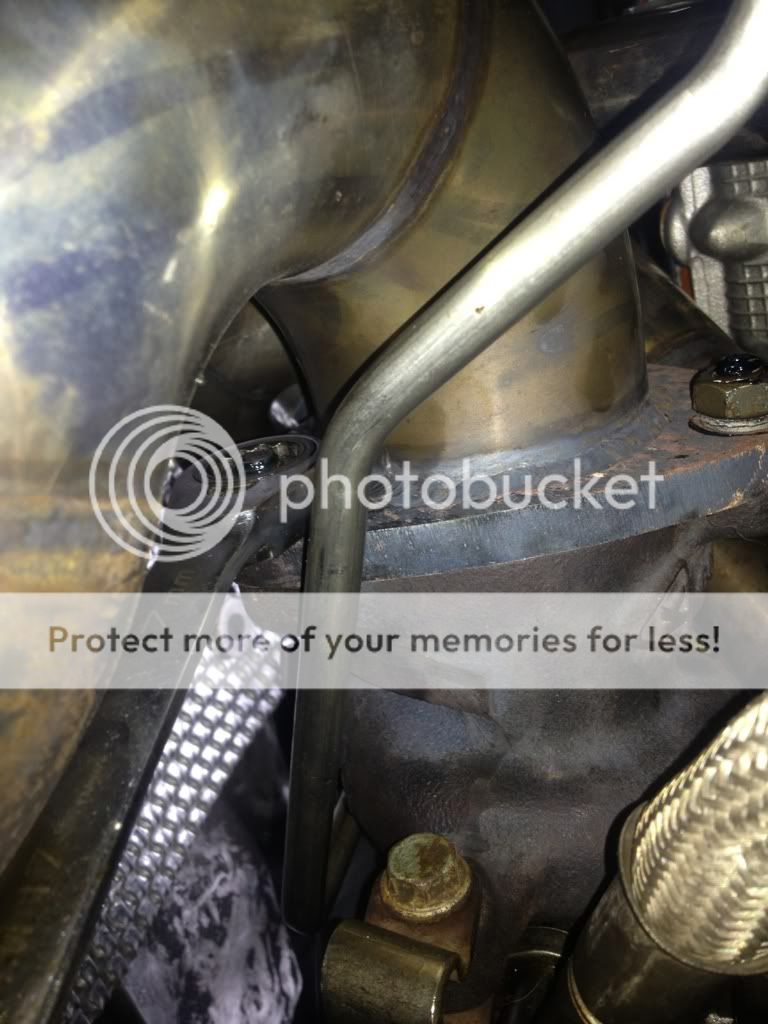
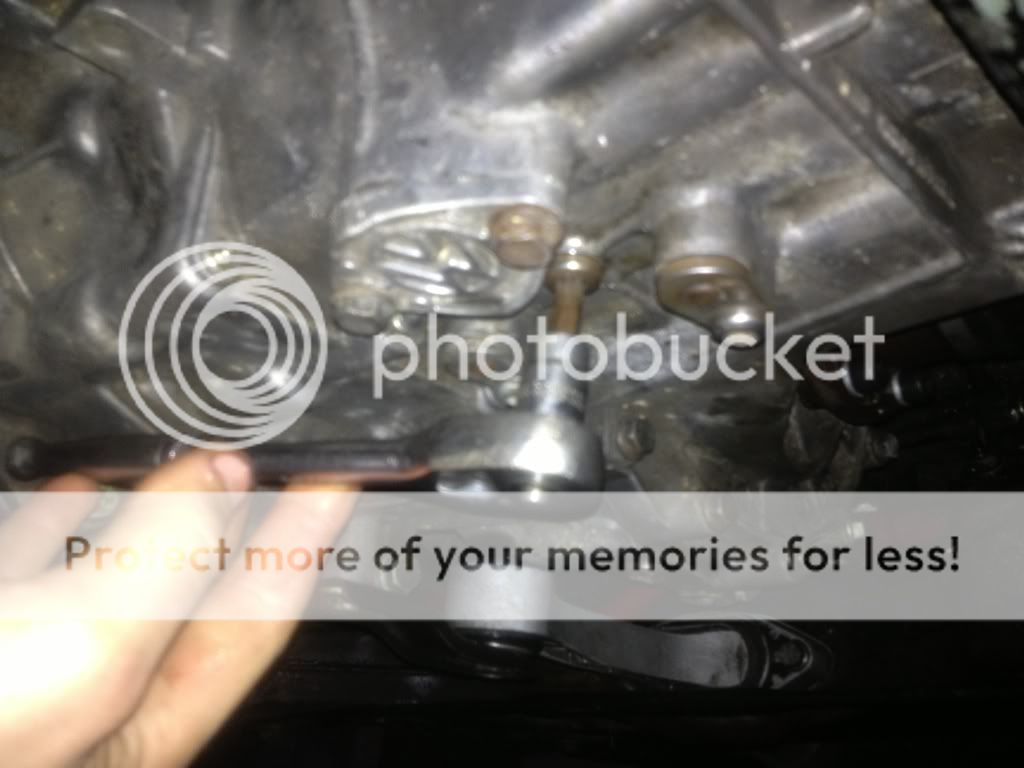
Random pic of the phenolic spacer from underneath:

BEF5ED3F-9462-487A-90A7-19FE9E8D7F43-2268-000001A3C505D71D.jpg


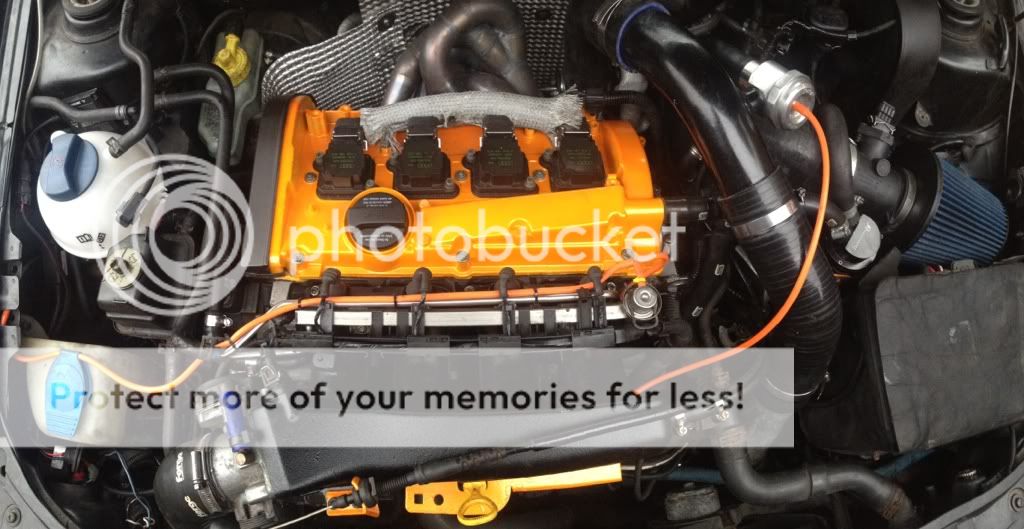
Added a few more boost hoses, plus the TIP and the MAF, as well as the forge DV freshly rebuilt with new grease and the piston lapped in to ensure a good seal.

65365867-8A61-45B7-8B0E-46EEFE09E8E9-2268-000001A3CF13E009.jpg


Then it was time to install the slam panel:

0EF2A939-AD64-4886-B06D-80246F398919-2268-000001A3D8D6C13D.jpg


Followed by the intercooler core:

88781DFD-9A8C-451A-8817-A167BFECA99D-2268-000001A3E1ED35CD.jpg


Cold side pipework with Methanol connection:

571443A1-8712-4B4F-8F5E-CA6C8834896D-2268-000001A3EA5CCBA3.jpg


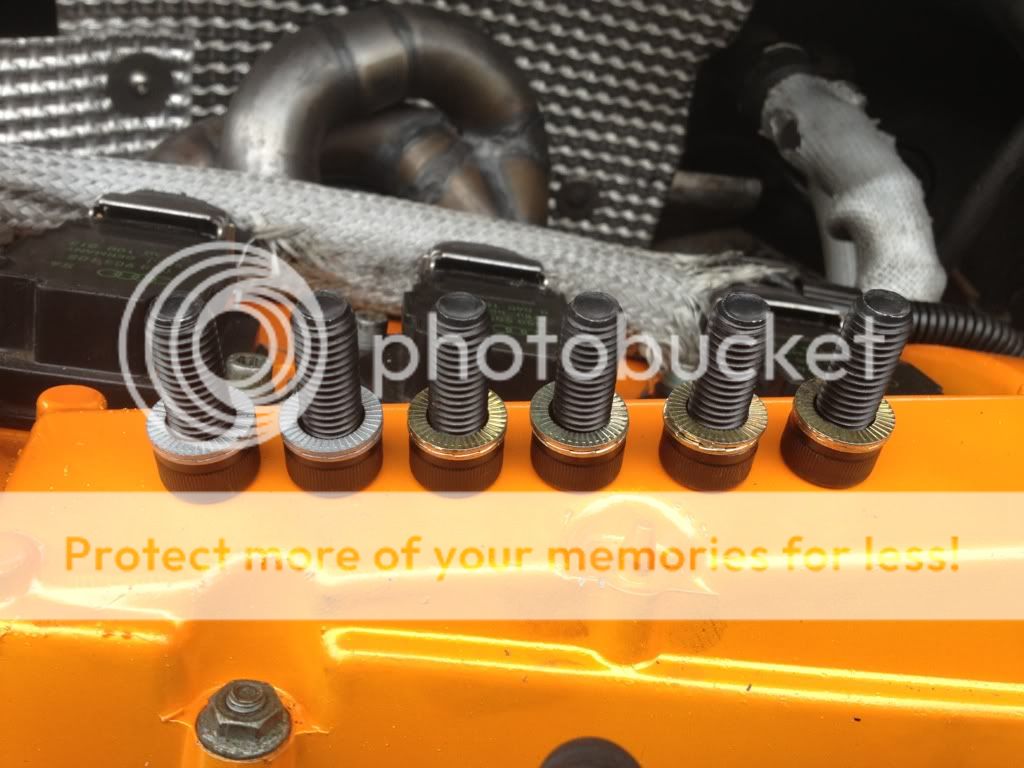
Even my hose clips and IC core have Nurburgring barrier scars!

E289C390-30DD-4CBE-B870-CF19B2665C9D-2268-000001A3F0D50262.jpg


So, the big moment!

I unplugged the injectors and ICM to be sure it couldn't fire, and cranked it over.

All sounded well, so I decided to crank it one more time, and then plug it all in and see what happened!

The result:

<a href="http://www.youtube.com/watch?v=r2JP5bATZLw" target="_blank">

It lives! But it sounded terrible. Top end was very tappey, not impressed at all.

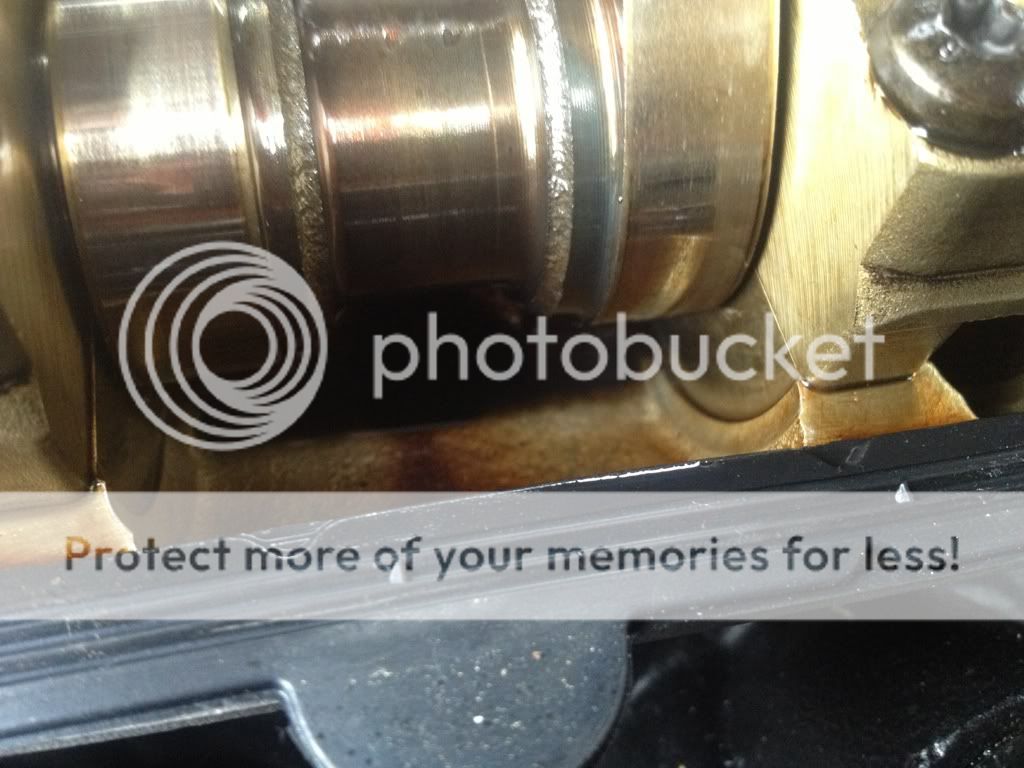
A quick chat to Tuffty, and he suggested taking the rocker cover off to check oil was getting to the top end. So off it came.

0DE1B7D2-DFA5-45CE-BE42-83C0DAC5A718-2268-000001A40623F623.jpg


Definitely oil in here:

7DB23BDF-CA1F-474F-828A-E0D0591E4AD1-2268-000001A40D1824F9.jpg


19355AA5-0C60-4171-9E57-271E3C193ADD-2268-000001A417878D7F.jpg


I poured oil over the top of the cams, and refitted the cover, and fired it up on Tufftys advice and let it warm up.

Thankfully, as it warmed up, the noise went away, and has now gone totally :) THANK GOD FOR THAT!!!! I was pretty worried at first.

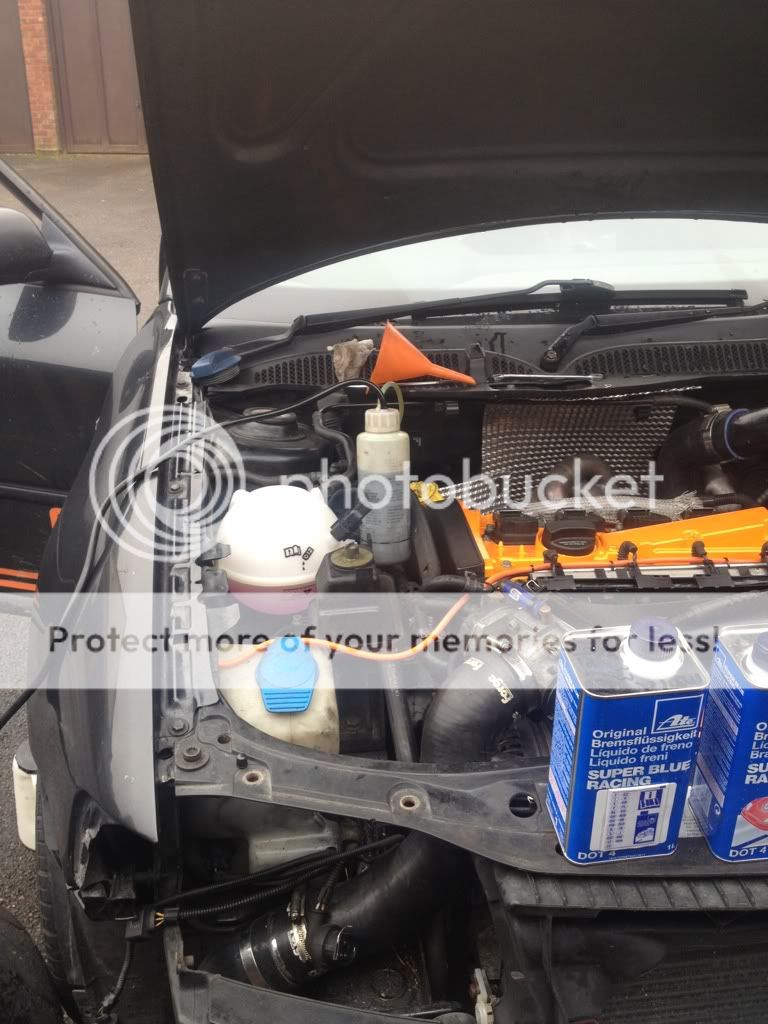
With the engine running and me feeling happier, It was time to bleed the brakes and clutch so I could take it for a drive.

I used the ATE super blue fluid that Frenchman gave me for my birthday :)

19E031E0-B8A9-4DC4-8C5C-A6DF25482E06-2268-000001A41E2775BD.jpg


Hooked up the pressure bleeder:

FB703AB3-1126-4DB3-AA51-EDAE32AE160C-2268-000001A424211E35.jpg


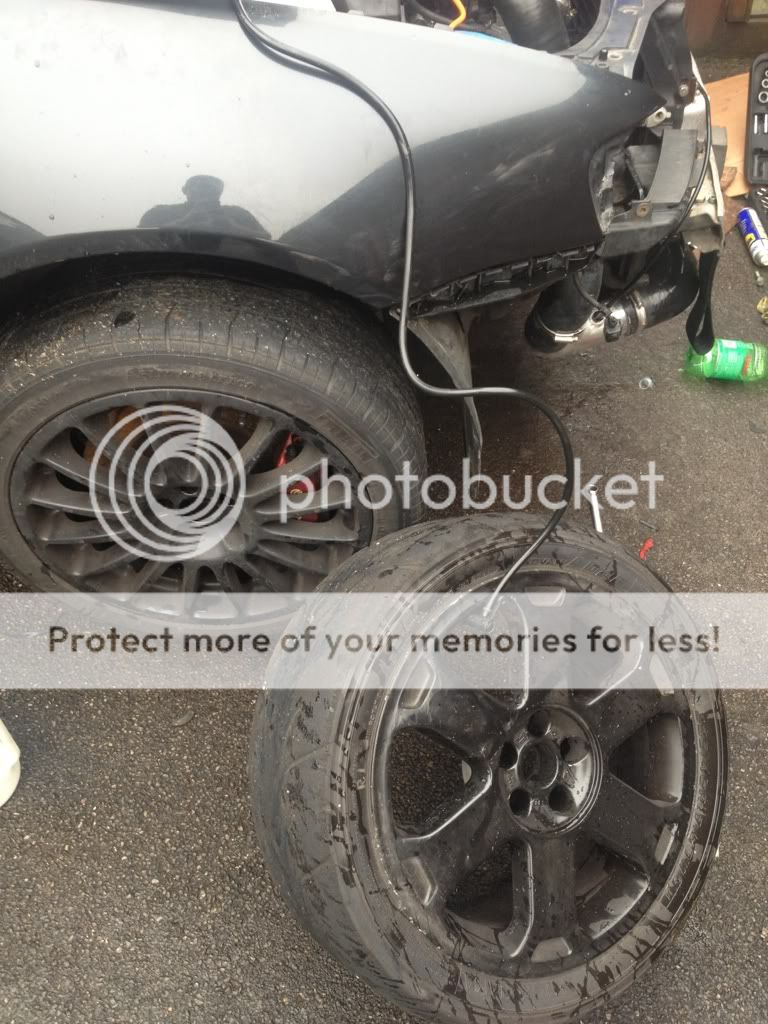
Handy having a million spare wheels lying around for the EZbleed:
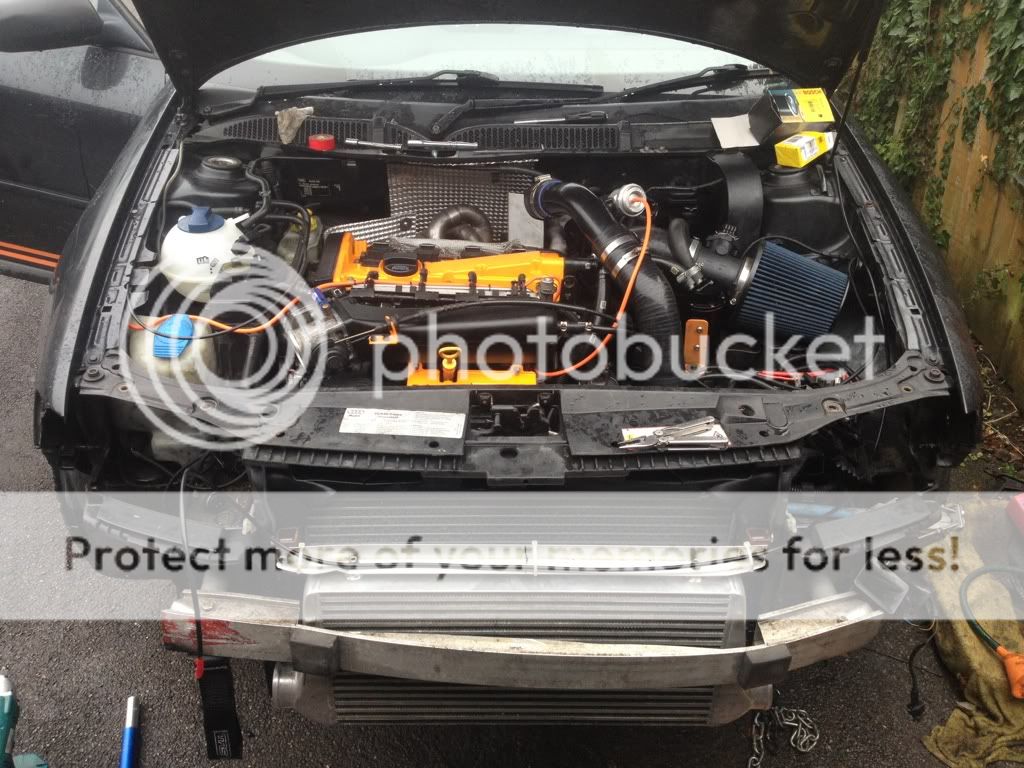
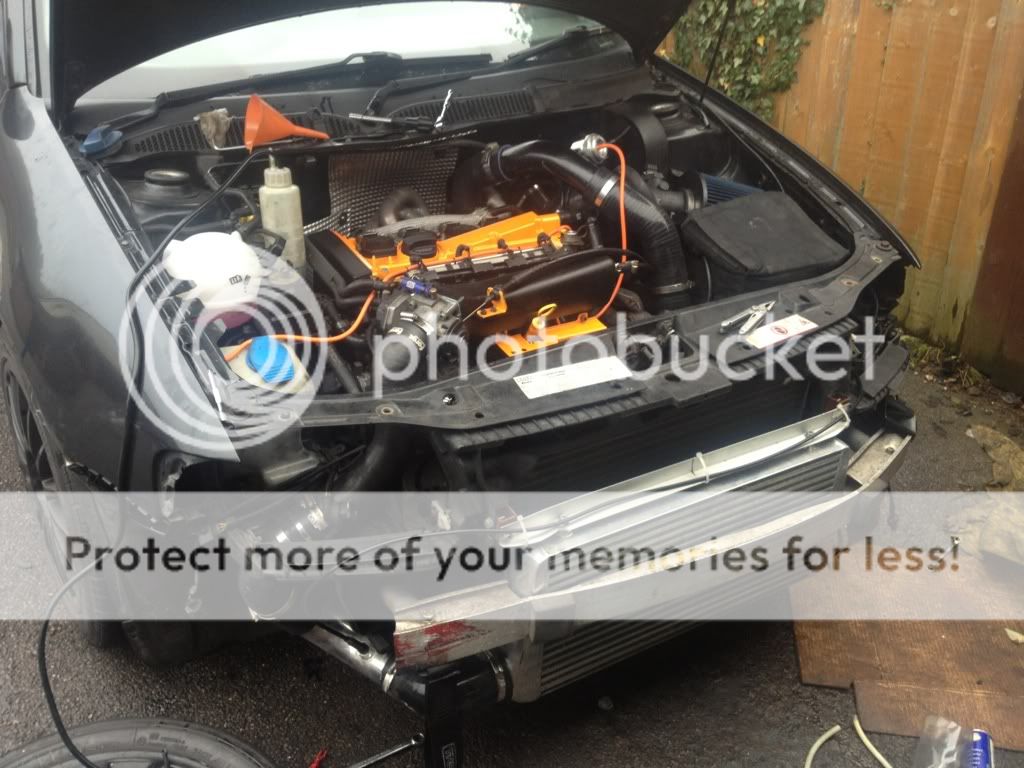
ECE3E246-BDDA-48B9-B658-9F1521B6B871-2268-000001A42A428DA9.jpg


B34B79D6-3DCE-418F-8168-61D1CE20C1DE-2268-000001A43DDD9D44.jpg


And she's finished!

DEDBBC94-74D6-4F6E-87E4-66BB156B8FE7-2268-000001A4451F96AE.jpg


99682C39-5210-43E6-B52B-1FD65DDC4B0C-2268-000001A44B7B0BDF.jpg


Time to put the nose back on so it looks like a car again:

5543D56A-22B6-4546-A195-DD451BEB6185-2268-000001A451A94CE6.jpg


And the sorry looking rattle canned bumper:

66C35C1A-2203-4C1A-A9F1-F5F89FEF7B17-2268-000001A456F73265.jpg


And it's a car again!

8FFC70E8-0FDF-4353-BD5D-EFC102493777-2268-000001A45C9608A9.jpg


Hopefully not too long before we can use these again :)

AD1C61CB-7F3D-4889-9B50-84B252325AF0-2268-000001A46D3C16A3.jpg


Very happy with how it's looking too:

94B3A883-D768-4AB3-957D-93409AE195EF-2268-000001A475018C7C.jpg


I went for a test drive, and within a few hundred yards it was missfiring badly and felt pretty **** :(

I limped it back home, whipped off the coilpacks and injector plugs, and cleaned up all the terminals, as well as the MAF plug, and WD40'd the whole lot and put it back together.

I went back out, and it still felt a little off song, I decided to try putting my foot down a bit to see what happened, and it cleared totally! Woohoo!!!!

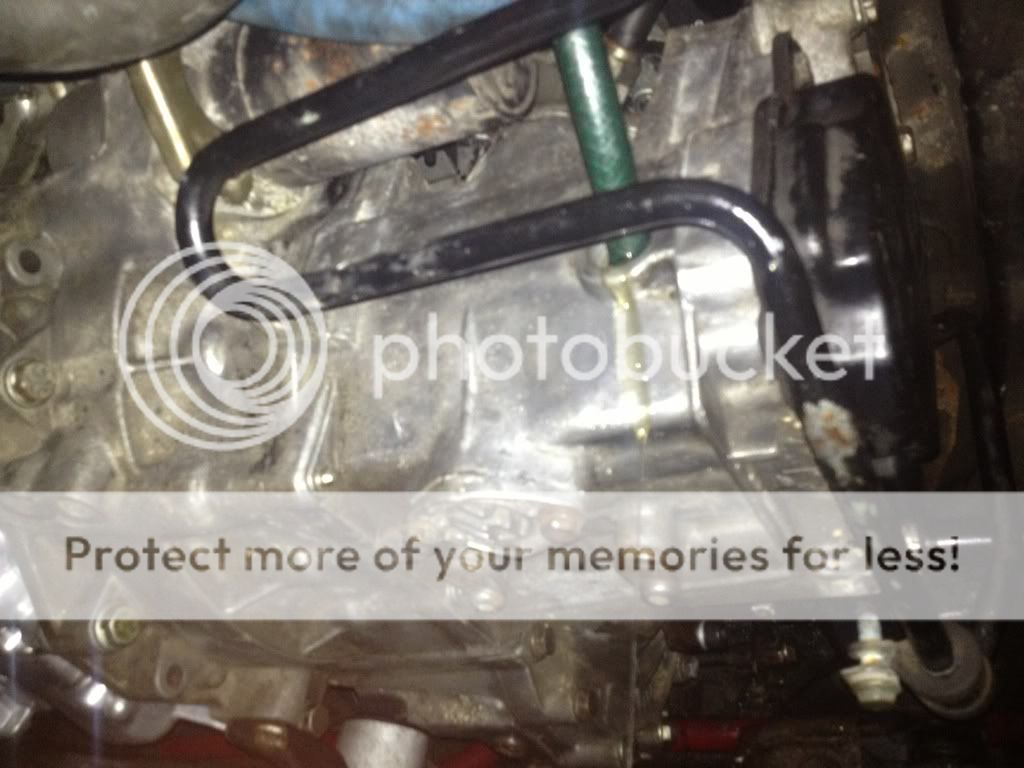
I came back home, and nipped into town in the Megane to pick Tori up from work. I took her round to show her my work when we got home, and the first thing she noticed was a trail of oil running down the drive :(

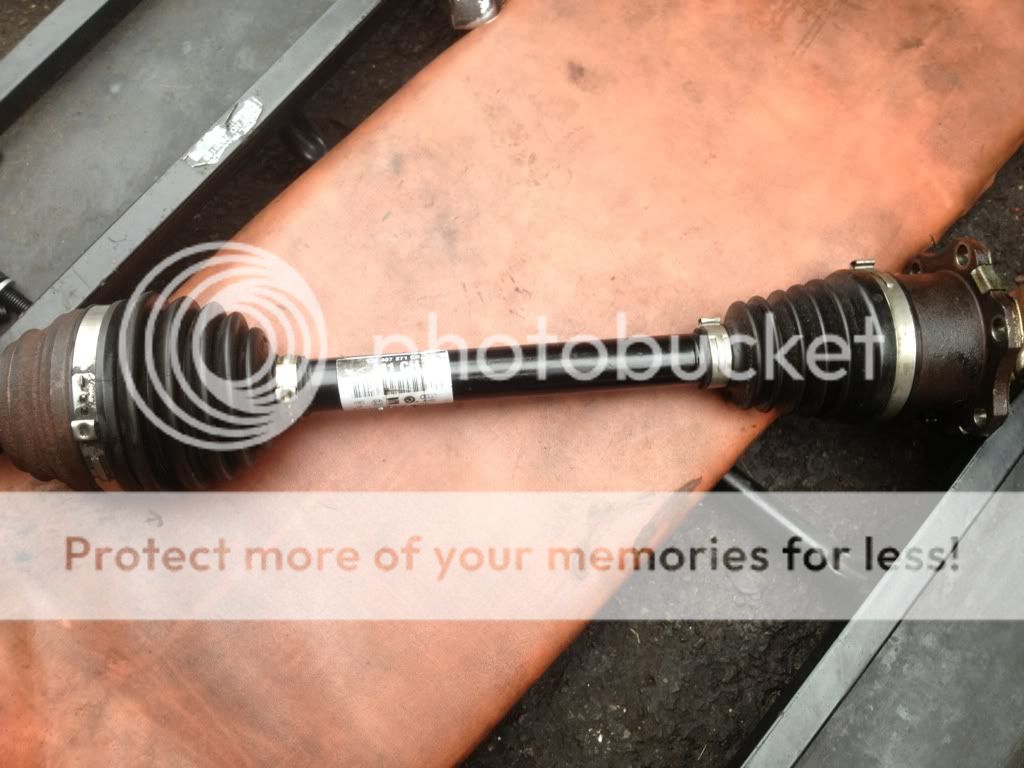
******. I can smell gearbox oil!

<a href="http://www.youtube.com/watch?v=OfV0uTd9uss" target="_blank">

****, not ideal, but thankfully an easy simple fix.

A4AC3AAC-1379-49AA-A17E-F5792927875D-2268-000001A47FEB4C02.jpg
 
Last edited by a moderator:
Seeing as there was quite a bit of fluid on the drive, and a bit of a splattering down the floorpan as well (
sob.gif
), I decided to refill the box to make sure the oil level was OK.

09E105E4-6AC5-4DEB-AC44-693770262B6B-2268-000001A485D0886F.jpg


56E8374C-4C18-493C-A2C0-FD7DA84AA359-2268-000001A48B4C1D06.jpg


I'm glad I did, as it took almost half a litre to get back up to level!

Also, I noticed when I had things apart that my sidelight bulb holders had totally fallen apart, and I had no sidelights at all.

I took the decision to do what I swore I'd never do, and wire in the angel eye rings on my front lights so that I had some sort of sidelight at least.

Pikey as you like, but who cares :laugh:

3E861E65-B27B-44F4-A320-EEA70ABD4375-2268-000001A493F8A9CF.jpg


So, all that was left to do was drive it some more!

It feels fantastic on the road, I'm going with the hard break in method, which means loading it up and using the throttle and the revs pretty early on, and it's feeling brilliant already.

I took this little clip after 11 miles:

<a href="http://www.youtube.com/watch?v=AfT2EsRxTaA" target="_blank">

Then I did a few laps of the Basingstoke Ring road, and it's now up to 27 miles:

633861F2-5369-432F-A66D-DCD874812E6E-2268-000001A49E22A1EF.jpg


All in all, a successful day, I'm very happy :)
 
Last edited by a moderator:
Awesomesauce Prawn! Love the plates, what does it say underneath yours?

I rebuilt a 2.4 30v A4 before and after first startup it sounded pretty much the same as yours. I, as you did, let her warm up and give it some death and she cleared :icon_thumright:
 
you dropped the oil yet?
bet that tapping scared the hell out of you! lol

The noise scared my to death. Was on FB chat to tuffty within about 10 seconds pestering him for an instant response!

Not dropped the oil yet SuperK, I'll do 50 miles on this oil, drop it and replace with more mineral, then run that until 250 and drop it again, then I'm not sure whether to go fully synth at 250, or run another lot of mineral through it until 500.

Any thoughts people?

Awesomesauce Prawn! Love the plates, what does it say underneath yours?

Mine says 'The Friendly Crustacean' under the PRAWN. The slogan has come with the name ever since I was first called Prawn :)
 
Know its early days but turbo sound and feel ok? Any difference with 1 bar actuator?
 
Turbo sounds and feels great Dan.

Initial impressions are that it's running 12psi on actuator pressure.

Strange really, as the last actuator was a 10psi one, set to crack at 10psi on the bench by Bill, and it ran at 12psi on my car.

This actuator is a 14psi one, set to crack at 14psi by yourself, and it runs at 12 on my car! Both figures are taken from my gauge, which matched Bills dyno logged boost pretty well, and also matched my Gizzmo EBC read out perfectly when I had that.

May try a turn or two more preload onto the actuator in time, but for now I'm happy knowing it's all safe and good at 12psi. Feels very strong already!
 
i have it in mind to do:

mineral:
change after warm up
change after 20-30miles hard run in

then fully synth:
change after 500miles, hard run in

hurry and get yours bedded in already so we can see it fly. are you out driving right now? i hope so
 
One thought I had Dan, if this is a 14psi and its cracking at 12 psi, is it possible that there isn't enough preload on it? Meaning it could potentially blow open at the top end when the boost is turned up?

just thinking aloud on that one.....
 
Good work bud. Why didn't you do a little celebration dance for the start up vid ;)

The "tough love" running in method is what I used and it seems to have done the job at breaking in a strong engine.
 
One thought I had Dan, if this is a 14psi and its cracking at 12 psi, is it possible that there isn't enough preload on it? Meaning it could potentially blow open at the top end when the boost is turned up?

just thinking aloud on that one.....

I'd imagine my gauge that I used to set it, ( on my compressor ) is wrong. 14 psi isn't that much on a gauge that goes to 150psi so it's probably an issue there. Add a turn or 2 onto the rod and see how you go.

The boost pressure to open the actuator isn't the same as the exhaust pressure to open the wastegate. Boost pressure pushes on the diaphram in the actuator to open it, the larger the diaphram, the less pressure needed to move the spring, whilst the exhaust gas pushes the wastegate and that acts against the spring. One pushes and one pulls then you factor in the lenght of the arms/levers... Setting the preload so it cracks at a certain pressure shouldn't affect the force needed to blow open the wastegate.
 
When i did mine i kept it on mineral till about 750miles.

changed at 25, 250, 500 then to synthetic at 750.

The oil i dropped out at 25miles was full of glitter which was somewhat scary to see! Looked like metalflake paint!

The second change at 250 had a small amount of glitter too, but since then its been fine and its still running 10k later.
 
Exhaust pressure can be twice that of boost pressure... Bill has measured this on the Lupo before...

<tuffty/>
 
Looking very good prawny rattle on startup is totally normal. Was the gearbox leak a missed screw or had it worked loose/stripped?
 
When i did mine i kept it on mineral till about 750miles.

changed at 25, 250, 500 then to synthetic at 750.

All very sensible stuff!

I think the exact intervals people choose are down to personal preference and experience, I tend to go with 50 on the first change, with the intention that the change after 250 miles will be slightly cleaner as hopefully most of it comes out after 50 miles.

I think it's widely agreed though that you need to keep it on mineral until 500+ before switching back to fully synth. I'll be changing this oil at 50 miles, then again at 250 for more mineral until 500, when I'll fill with synth :)

just want to go home and put more miles on it now!
 
Looking very good prawny rattle on startup is totally normal. Was the gearbox leak a missed screw or had it worked loose/stripped?

Think it was loose from the start to be honest mate, I'd driven less than a mile on it when the leak appeared, and I only filled it up with box oil 30 mins before heading out, so probably wouldn't have noticed a small leak
 
Fair one.

Glad you spotted it in time mate.

Hope the run in goes smoothly
 
i agree :) that's why I've recently bought 2 sets of Mintex 1177 front pads, a set of mintex 1155 rear pads, some alloy trumpet intakes to go in the front grilles, and 3m of 63mm neoprene ducting.

Will be making some duct holders using the existing brake backplates and welding on some stubs of 2.5' pipe to direct the air to the centre of the bell.

Good thinking Chris!

Happy to help :rockwoot:
 
I can do Doug, but being a VR6 housing with an AGU sensor it's all scaled wrongly to compare with ME7.5 logs.

Airflow at 12psi when converted to your numbers is 219-222g/s :)
 
I was going to do a proper update last night, but then I WAS going to be home by 8pm, and not spending 90 minutes on the side of the A30 burning myself to death all because d a silly m6 nut!

proper update to come later, but basically, it's epic
 

Similar threads

Replies
26
Views
8K
Replies
6
Views
4K
Replies
10
Views
4K
Replies
166
Views
20K
Replies
40
Views
4K